




Key Takeaways
- A fume hood inspection checklist is a layered decision record — it separates pre-use observations, periodic technical checks, and post-installation or repair retesting while showing when to stop and escalate.
- Start with a stop-use check — visible damage, missing parts, persistent alarms, unconfirmed airflow, ventilation shutdown, or an existing out-of-service label requires the responsible procedure before work continues.
- Treat frequency and pass criteria as source-controlled inputs — the applicable EHS policy, manufacturer information, project documents, equipment type, and test conditions determine the requirement; one institution’s number cannot be universalized.
- A visual or simple airflow observation is not a full containment test — an indicator, tissue strip, single reading, or smoke observation has a limited evidence role and does not replace the responsible performance test.
- Return-to-service needs a traceable record — installation, repair, or airflow-change corrections, retesting, results, and release responsibility must be connected in the record.
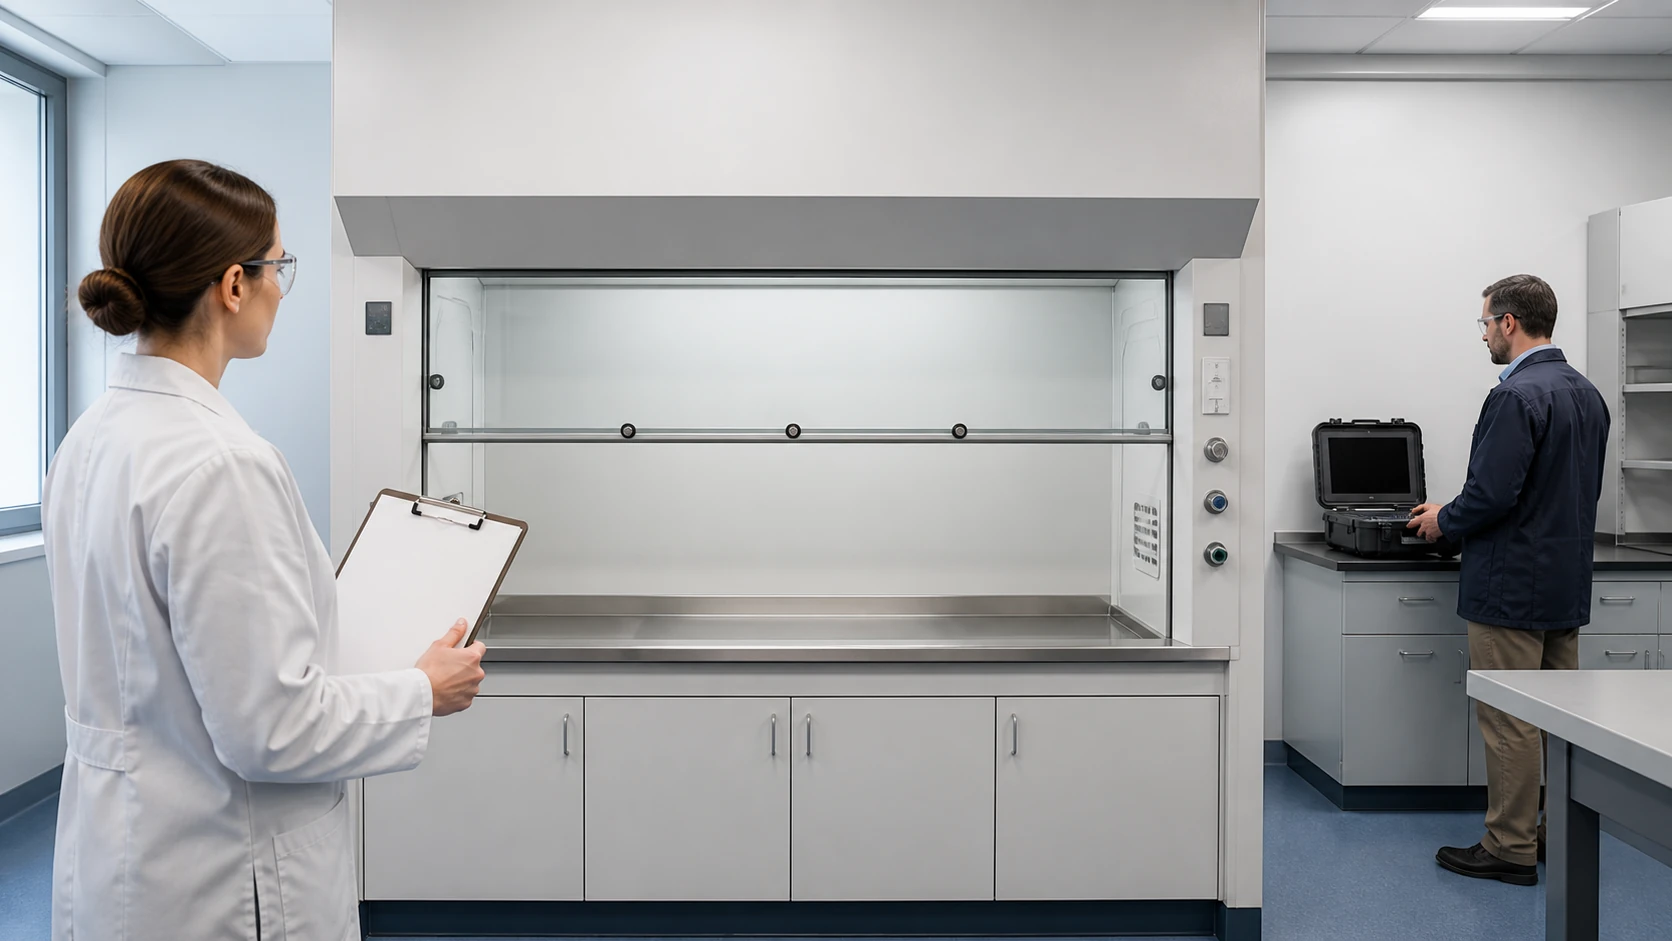
A fume hood inspection checklist that only lists visible items creates a false sense of readiness. Most lab teams already know to look at the sash and the airflow indicator, yet the two decisions this checklist exists to solve still trip them up: when a user observation is not enough, and when a hood must be retested before it returns to service. The misconception is that inspection and performance testing are the same activity. They are separate layers with different owners, evidence and release authority. This fume hood inspection checklist walks you through the four inspection layers, the stop-use triggers that outrank every other step, and the record chain that connects a repair or installation to an authorized retest.
What This Fume Hood Inspection Checklist Can—and Cannot—Prove
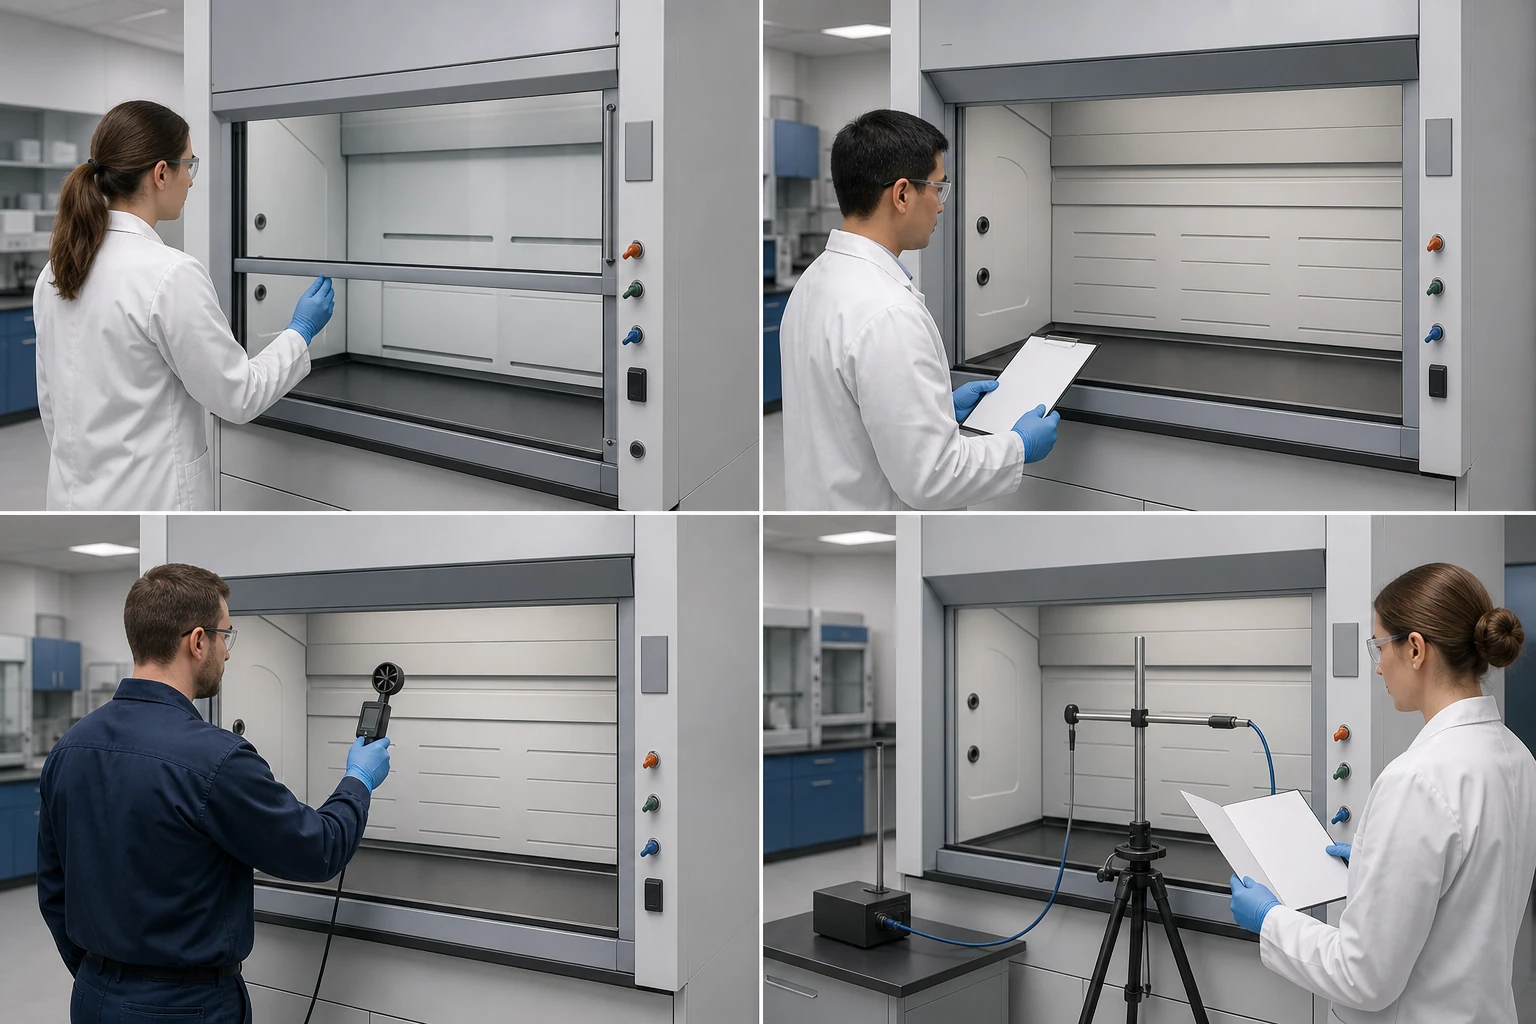
Illustration only — this image shows how the evidence layers relate; it is not a test result or certification mark.
A fume hood inspection checklist is a screening and record tool, not a certificate: it tells you which checks apply right now, who performs them, and what the result can and cannot prove. The same checklist never replaces a formal performance test, and neither a clean visual result nor a working indicator releases a hood for post-repair use.
Use the checklist to choose the right inspection layer
Before opening any checklist, capture four facts about the equipment: the hood type (ducted, low-flow, walk-in or ductless), its purpose and chemical scope, its asset identity and room, and the current event — pre-use, routine housekeeping, a scheduled periodic check, or an installation or repair that changed the hood or its airflow. These four facts select the inspection layer that is due right now. The decision order is fixed: when a stop-use trigger exists, nothing else runs until the condition is reported; otherwise the pre-use record comes first, and any technical or post-event need is handed to EHS, facilities or a qualified tester.
| Inspection layer | Who performs it | What it can show | What it cannot prove | Output |
|---|---|---|---|---|
| Pre-use observation | Lab user | Visible sash, baffle/airfoil and interior damage; airflow indicator or alarm state; clutter or blocked openings; obvious room or exhaust abnormality | Full containment, compliance or certification | Completed pre-use record |
| Routine housekeeping | User, supervisor or designated staff | Cleanliness, corrosion or damage visibility, storage blocking airflow paths | A performance pass | Housekeeping log or work order |
| Periodic technical inspection | EHS, facilities or qualified tester | Face velocity, monitor/alarm, containment or smoke behavior and system/room conditions under the applicable program | A universal frequency or threshold | Test record with conditions and units |
| Installation or repair verification | Project team, EHS/facilities and qualified tester | As-installed or post-repair condition, control and exhaust state against project requirements | That the work is usable because a work order closed | Commissioning or retest record and release status |
The four layers share one record entry point, but they do not share one owner, one evidence grade or one release authority. Cornell EHS, for instance, keeps its user-facing housekeeping and use review separate from its annual performance-testing program, in which hoods that do not meet performance are tagged and kept out of use until corrected. Treating the table as a single “pass or fail” form would collapse layers that the institutions themselves keep apart.
Do not confuse a user check with a performance test
A user check observes visible condition and available indicators; a performance test measures, contains and documents under a defined method. The evidence grades in between are not interchangeable: a visual scan of the sash and baffles, an airflow indicator or alarm reading, a face-velocity measurement with an instrument, a smoke or containment observation, and a formal test report each prove something different and are each performed by a different role. Only the last grade produces the record that a responsible party can accept as a performance result.
An institution’s boundary language explains why normal-looking equipment still proves nothing by itself. Washington EH&S runs functional performance checks on its hoods and can place a hood Do Not Use until repairs and retesting are complete; UC San Diego tells users to verify the certification-label date and the monitor before use, then routes formal verification to EH&S or Facilities. In every case the user’s “looks fine” stays a screening observation, and the technical confirmation belongs to the responsible program.
What this checklist can do and cannot do: it can surface visible defects early, send each layer to the right owner and keep a traceable record. It cannot prove full containment, replace a formal performance test, certify the hood, or authorize return-to-service on its own.
By the end of this module you can name the inspection layer your hood needs right now — and you know that the result is a screening record, not proof of containment. The next question is whether anything in front of you demands stop-use before any check continues.
Immediate Stop-Use Conditions Before Troubleshooting
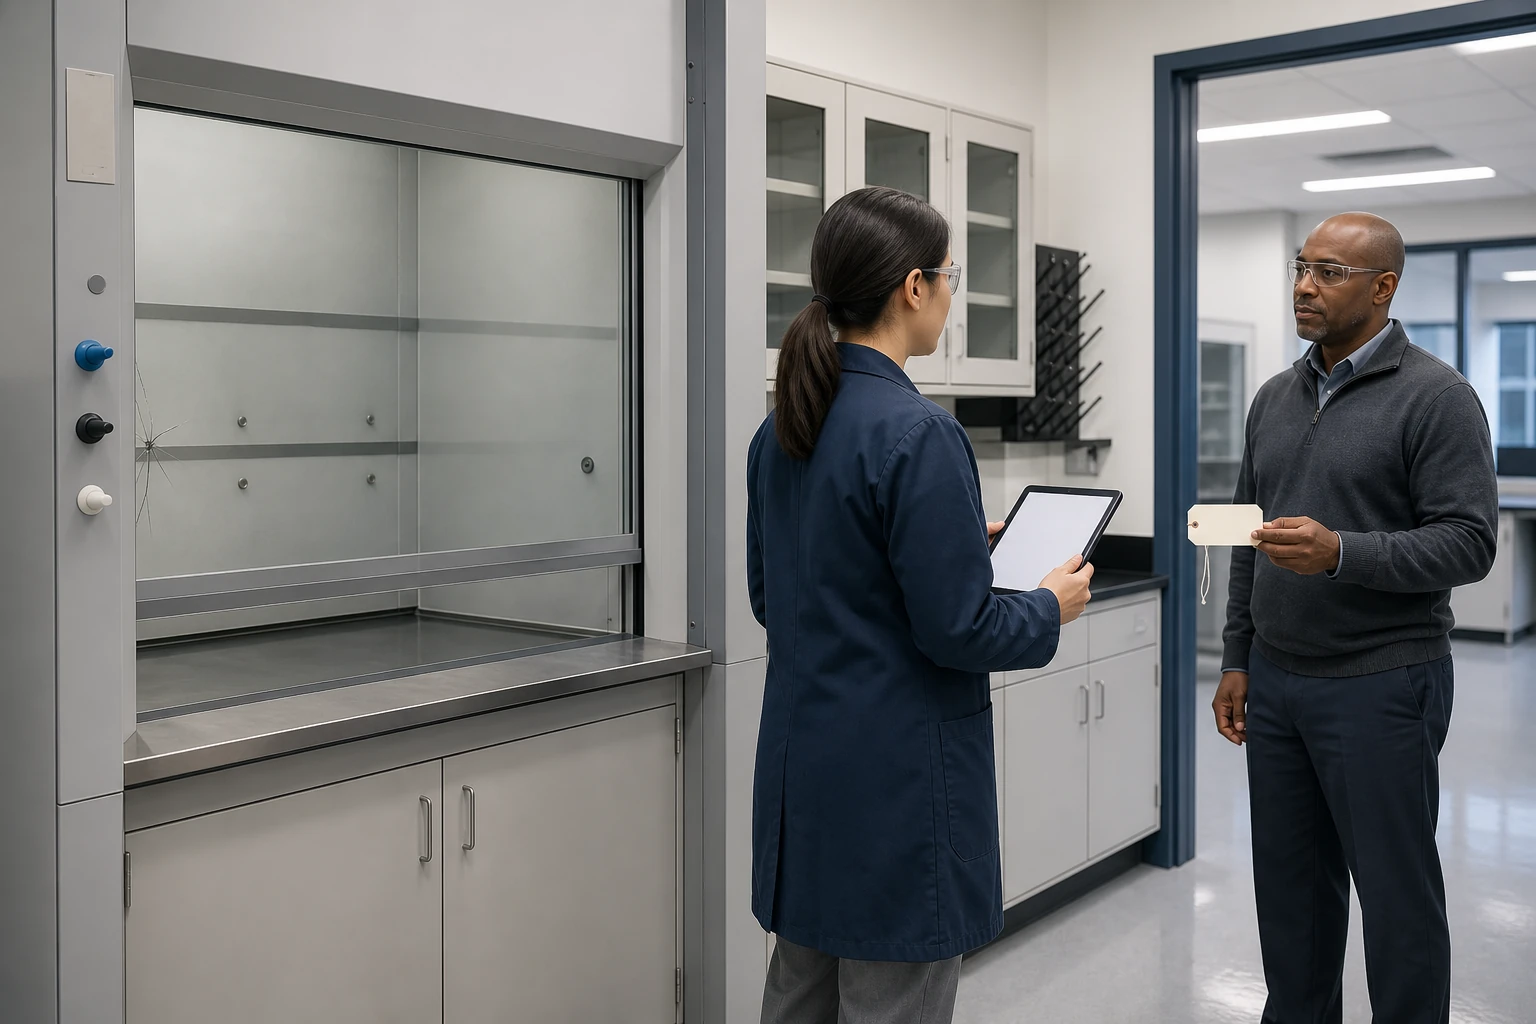
Illustration only — it shows a hood isolated from work while the condition is reported; it is not a work instruction or a diagnosis.
A stop-use condition outranks every other checklist step: structural damage, missing parts, a persistent alarm, airflow you cannot confirm, a ventilation or service abnormality, or an institutional Do Not Use or out-of-service status all mean the hood is not released for work. The user’s job at that moment is to stop, report and document — not to troubleshoot, reset or self-certify. A hood that trips any of these triggers returns to service only when the responsible party confirms it.
Stop when the hood cannot be trusted to contain work
Six triggers qualify as stop-use conditions before anything else runs: visible structural damage or missing parts such as a cracked or jammed sash or a missing or damaged baffle or air foil; a persistent alarm or airflow indication that will not clear; airflow you cannot confirm; a ventilation shutdown or service abnormality; an institutional Do Not Use or out-of-service label; or an unknown condition or history. Ohio State’s procedure, for example, removes fume hoods with structural damage or missing parts from service until the condition is corrected. Do not estimate whether a defect is repairable, how long the hood can run, or whether it still “works anyway” — those judgments belong to the responsible EHS, facilities or qualified party.
A visible condition and a proven performance are different facts: a damaged hood can still move air, and a normal-looking hood can fail its program test. That is why a confident visual once-over does not clear any of these triggers. When contamination is suspected, the equipment is special-purpose, or the service history is unknown, escalate to EHS or a specialist instead of settling the question with a quick look; University of Alabama’s management plan requires lab personnel to report defects and prohibits use of hoods marked dangerous or out of service.
| Trigger | First action | Who releases |
|---|---|---|
| Structural damage or missing parts | Stop work; keep the hood closed when safe | EHS, facilities or qualified tester after correction |
| Persistent alarm or unconfirmed airflow | Stop; note whether the indication clears or repeats | Responsible party after inspection |
| Ventilation shutdown or service abnormality | Do not use while ventilation is down | Facilities after service is restored |
| Do Not Use / out-of-service label | Do not remove or override the label | The institution that posted it |
| Unknown condition or history | Escalate instead of guessing | EHS or specialist review |
Report, isolate, and document the condition
The safe order, adapted to your institution’s procedure: stop work and keep people clear of the opening; close the sash when it can be done without reaching into a suspect hood; preserve any existing label or add a temporary status note so nobody starts work; then notify the supervisor and EHS or facilities along the local response path. This is an escalation sequence, not a universal command script — each institution defines its own steps, and none of the steps includes resetting an alarm and continuing.
While you wait, write down what a later reviewer needs: asset ID and room, the time, the exact observation, a photo when it is safe, any work order or report number, and whether a temporary replacement hood is required. University of Alabama keeps EHS responsible for test and repair records so the symptom stays connected to the corrective action. “Reported and waiting for release” is the traceable state; a self-reset or a quiet “looks fine” leaves a gap that the next inspection cannot reconstruct.
By the end of this module you can run the branch in front of any hood: confirm the trigger, stop and document when one is present, and wait for the responsible release. When no red flag is present, the next module moves through the pre-use fume hood inspection checklist item by item.
Daily and Pre-Use Fume Hood Inspection Checklist
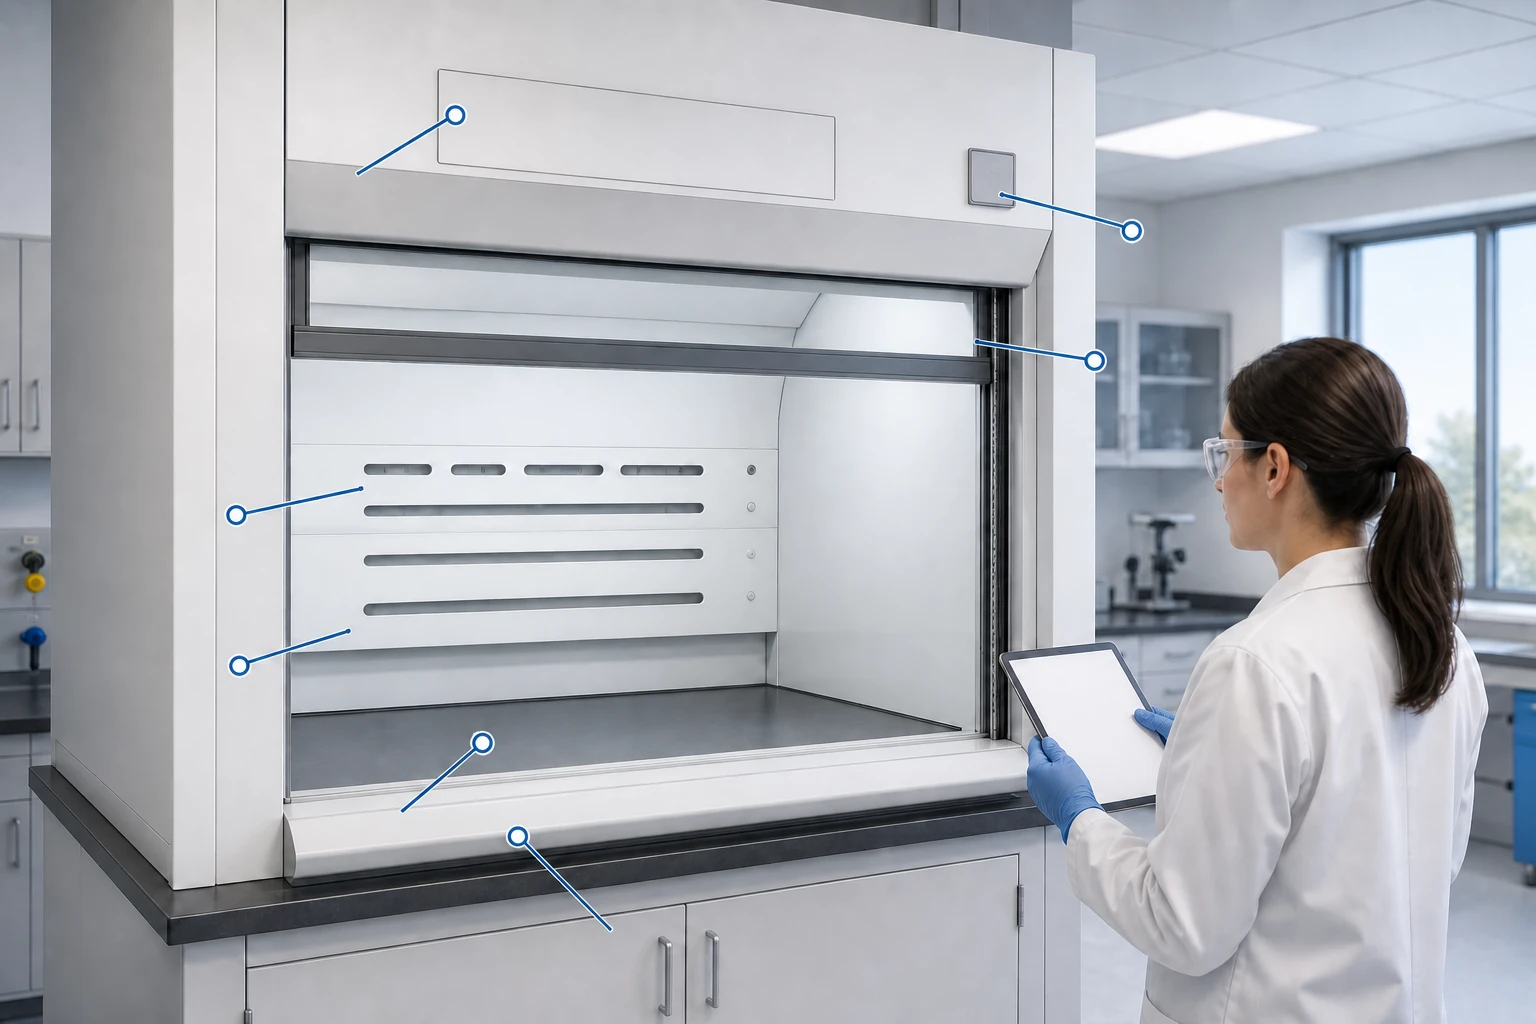
Illustration only — this image locates visible inspection points on a generic hood; it is not evidence of a test result or of a safe condition.
This module is that item-by-item walk for any hood that cleared the stop-use branch: a daily and pre-use fume hood inspection checklist the user runs before work. Each line is a bounded observation with a stop-use handoff, and none of the lines measures performance or proves containment. The table below is the record entry, so the record you finish is complete and auditable.
| Check | What to observe | If not normal | Record |
|---|---|---|---|
| Identity and status label | Asset ID and room match the equipment; hood type; label date and any Do Not Use tag | Label missing, expired, or status unconfirmable | Label state; route to M02 or M04 |
| Sash | Moves freely; glass and frame intact; usable working position | Cracked, jammed, or unusable position | Observation; stop-use if structural |
| Baffles and air foil | Rear baffles and slots, front air foil present, aligned, unblocked | Missing, damaged, or obstructed | Observation; stop-use if missing or damaged |
| Airflow indicator and alarm | Indicator in expected state; alarm silent; airflow clue visible when provided | Alarm active or airflow unconfirmable | State or reading; stop-use if persistent |
| Interior and liner | Clean and intact; no corrosion, residue, or fresh damage | Corrosion, residue, or damage present | Observation; escalate if contamination is suspected |
| Clutter, storage, work placement | No materials stored inside; nothing blocks the opening | Storage or blockage present | Housekeeping action or work-order note |
| Room, cross-draft, exhaust | Fan running; no strong cross-draft; grilles and room ventilation normal | Fan off, strong draft, or room abnormal | Report to facilities; stop-use if ventilation is down |
| Reporting and handoff | Name, date, equipment identity, and next owner for anything found | Entry missing or escalation needed | Completed pre-use record entry |
Confirm identity, label, sash and airflow status
Confirm identity, label, sash and airflow status before anything else. Match the asset ID and room to the equipment register and note the hood type; check the status label, its date and any Do Not Use tag; confirm the sash is intact and a safe working position exists; then look at the airflow indicator, gauge or alarm and read the state you expect. UC San Diego’s use guidelines, for example, ask users to verify the certification-label date and the monitor before use, and Ohio State’s testing procedure starts from sash, baffle and air foil visual condition.
A missing, expired or unverifiable label is a routing event, not a cosmetic one: treat it as a stop-use or periodic-review input instead of writing “pass” yourself. The same rule applies when the alarm is active or the airflow state cannot be confirmed — the status stays unknown until the responsible party checks it.
Check baffles, air foil, interior and work placement
Check baffles, air foil, interior and work placement in a back-to-front sweep. Inspect the rear baffles and slots, then the air foil at the front edge; look at the liner, counter and fixtures for corrosion, residue or damage; confirm equipment and materials are not blocking airflow or being stored inside the hood. Washington EH&S records controls, sash, baffles, plumbing, light and corrosion observations during its functional checks, and everyday-use safety checklists in the market lead with training and chemical identification before the equipment checks — so these are expected user-visible fields rather than invented ones.
In this module the fume hood maintenance checklist sense stays bounded: housekeeping and condition fields only, not a preventive-maintenance program and not a performance pass. A clean, unblocked hood still needs its scheduled technical check, and an untidy one is not failed on airflow grounds just because it looks used. Keep placement advice conditional — no universal shelf height, distance or storage rule — because those limits belong to your institution and your equipment.
Record the result before starting work
Record the result before starting work with status options that preserve context: normal, abnormal, not applicable, or needs escalation. Write the observation, the check date, the inspector’s name and the equipment identity for every line; a blank checkbox with no context cannot be traced later. The table above is the record entry, and your institution may add fields to it.
A completed record with no anomalies is not a containment pass — it is a pre-use screening result. After recording, follow your institution’s operating, PPE and chemical procedures as usual, and route any item that looks like a technical issue to the periodic inspection instead of closing it as normal.
After this module, you can decide which observations must move to the source-controlled periodic inspection that the next module covers. You can also complete a pre-use fume hood inspection checklist record for a hood with no red flags.
Periodic and Annual Inspection Requirements
Periodic fume hood inspection requirements take their frequency, method and pass criteria from an applicable source: your institution’s EHS or facilities program, the manufacturer’s documentation, project turnover files, or an event such as a repair or airflow change. No single institution’s schedule is a universal law, and no single interval or pass value applies to every hood. This module shows how to find the source that governs your equipment and which conditions a technical record must preserve.
Find the governing frequency instead of guessing
Find the governing frequency in a fixed order instead of copying a number from the first page you find. Start with your local EHS or facilities program, which sets the test schedule, label dates and out-of-service rules for your site; then check the manufacturer or equipment documentation for model-specific expectations; then look for project, commissioning or turnover files that recorded the installation and its verification; and finally treat events — a repair, an airflow or control change, or a risk review — as triggers for an unscheduled retest decision with the responsible party.
Institution pages are examples, not answers for your site. Cornell EHS runs annual performance testing on its hoods and labels the results; Washington EH&S performs functional performance checks at approximately 18-month intervals; UC San Diego attaches a 12-month label and asks users to confirm it before use. Each figure is that institution’s own scheduling decision, so treat the table below as the search path and leave the final interval to the source that applies to you.
| Source of the requirement | What it typically controls | How you confirm it applies | Institution example (not a universal rule) |
|---|---|---|---|
| Local EHS or facilities program | Test schedule, label dates, out-of-service rules | Read the institutional program or ask the EHS/facilities office | Cornell: annual performance testing with labels |
| Manufacturer or equipment documents | Model-specific maintenance and test expectations | Check the manual for your exact hood type | Follow the documentation for that unit |
| Project, commissioning or turnover files | Pre-use and as-installed verification, handover records | Retrieve the project book for the installation event | UNC requires verification before use per its project and institution process |
| Risk or event triggers | Retest decisions after repair, airflow change, or incident | Confirm with the responsible party whether an event now requires retesting | UW and other programs verify after repairs or changes |
Separate technical measurements from visual checks
A periodic inspection is a technical layer, not a longer daily list. Depending on the program it typically includes face velocity, monitor and alarm function, containment or smoke behavior, and system or room conditions such as pressure or exhaust state — and the responsible EHS, facilities or qualified tester measures and judges them under the program’s method. The daily checklist from the previous module only needs one output here: which items must move into this technical layer.
Do not let a service template or a single visual observation become a formal result. A passing look from the doorway, a calm indicator or one glance at the hood does not create a test record, and neither does a generic checklist that was never matched to your program. The pass decision stays with the method, the equipment and the conditions the program defines.
Record conditions around the result
A technical reading is only interpretable with its conditions, so record them alongside the value. The minimum context is the test date, the sash or window position, the equipment configuration, the room and exhaust state, the instrument and method used, and the reading with its units — an isolated number cannot judge all hoods because it has no design target, model or test condition attached to it.
When two values conflict — a field reading against a design target, or one service result against your program’s method — send the conflict to the responsible test procedure instead of averaging them yourself. The record then connects the observation to the corrective action and the later retest, which is exactly the chain the next modules build.
By the end of this module you can name the source that governs your hood’s inspection frequency and the conditions your record must preserve around any measurement — and you know the next module distinguishes what each type of airflow check can prove.
What an Airflow and Containment Check Can Tell You
This module is that distinction. An airflow and containment check answers a question at one evidence level, and no level alone decides whether a hood contains work: the pre-use indicator and simple observation screen, the instrumented face-velocity reading measures under conditions, smoke or containment observation shows capture and leakage behavior, and formal performance testing is judged by the responsible qualified program. The decision this module gives you is which level produced the evidence you hold — not a numeric threshold.
Airflow indicator and simple pre-use observation
An airflow indicator or monitor, a visible airflow clue such as a tissue strip, and the visual state of the hood are pre-use screening tools. Their job is to confirm that nothing looks wrong and to route anything abnormal to the stop-use path, which is the same layer as the daily checklist from earlier in this guide. When the indicator is not in its expected state or the airflow cannot be confirmed, the route is M02, not a second look.
A normal indicator or a moving tissue strip cannot, by itself, prove full containment, instrument calibration or a complete performance test. UC San Diego’s guidance treats these clues as a before-use screen, and Ohio State’s procedure keeps the accepted reading inside its own testing scope — in both cases the observation stays a screening input. The method that turns an observation into a record belongs to your program.
Face velocity measurement
Face velocity is a field measurement, not a number printed on the product: a reading with units taken at defined locations under a sash or window position and room or system conditions. The velocity at the opening depends on the airflow the exhaust system provides and the open area, which the fume hood airflow calculation page explains; the same hood can show different values when the sash moves or the exhaust state changes.
Institution examples such as Ohio State and Washington EH&S publish face-velocity figures inside their own procedures, so they work as attributed examples, not as a universal velocity range for your hood. A qualified tester measures and judges the result under the program’s method, and the fume hood face velocity requirements page explains how such numbers are scoped. Units, location, sash position and room conditions travel with the reading, or the reading cannot be interpreted.
Smoke/containment and formal performance testing
Smoke visualization or a containment check observes how the hood captures and whether leakage appears around the sash or face, which is a different evidence class than a single airflow reading. A clean smoke result at one moment is still an observation about that moment, so it is recorded with the conditions around it and never promoted to a certification.
Standards such as ASHRAE 110 and ANSI/AIHA Z9.5 appear here only to name the testing context: the formal method, report and version are confirmed by the responsible qualified tester or EHS program, and this guide does not reproduce or cover standard procedures. When a formal test or certification result is needed, that outcome belongs to the responsible program — not to a checklist, a tissue strip, an indicator or a quick smoke look.
| Evidence layer | Can tell you | Cannot tell you alone | Who performs or judges |
|---|---|---|---|
| Pre-use indicator and simple observation | Indicator state, a visible airflow clue, and obvious defects at that moment | Full containment, calibration, or a passed performance test | Lab user at pre-use; abnormal results route to M02 |
| Conditioned face-velocity reading | An instrumented velocity with units, at defined points, under sash and room/system conditions | A universal pass value or full containment | Qualified tester under the program’s method |
| Smoke/containment observation | Capture and leakage behavior in the observed moment | A formal performance result or certification | Qualified tester or EHS per the method |
| Formal performance testing | A documented result under an accepted method and report | A stand-in for your institution’s program | Responsible EHS, facilities or qualified program |
By the end of this module you can name which evidence level produced each result you hold, and you know that a clean screen never replaces the responsible test. The next module starts from the events that trigger retesting — installation, repair, or an airflow change.
Post-Installation, Repair, or Airflow-Change Retesting
This module follows those events. A new installation, a repair, or a change to the controls, fan, ductwork or sash can change how a hood performs, so the question becomes who must verify before return-to-service. The chain is auditable and deliberately non-numeric: each event collects evidence, a responsible role judges it, and the release decision is never the user’s alone.
New installation and commissioning
New installation and commissioning start with project inputs, not with the hood arriving. The responsible team assembles the equipment identity and model, the as-installed configuration, the exhaust and room conditions, and the test plan from the project files before any verification runs. Cornell records new-hood installation, commissioning and as-installed testing as project deliverables, and UNC’s laboratory ventilation policy requires verification after installation or replacement — both institution- and project-specific steps.
Installation completion is a milestone, not a verification result: the building work can be closed while the performance question is still open. This guide does not sign acceptance for any project team — the responsible EHS, facilities and qualified tester confirm the handover records, and the label or register entry follows their decision.
Repairs, controls, fan, ductwork or sash changes
Repairs, controls, fan, ductwork or sash changes reopen the question of whether testing is needed. Treat any repair, a control or fan change, ductwork work, a sash or key component replacement, or a new airflow abnormality as an event that the responsible party evaluates against the program before the hood is used. Alabama’s plan ties re-certification to specific installations and repairs, and Washington EH&S and Ohio State both require retesting after repair or airflow-related failure before continued use.
Repair completion, visible recovery and performance retest are different milestones. A closed work order shows the part was changed, not that the hood contains work; the visual state says nothing about the measured result; and only the retest under the program produces performance evidence. When the outcome is unclear, maintain stop-use or a pending status and let the responsible decision stand instead of inferring usability.
Worked example — persistent alarm or damaged sash before work. The table below follows one non-numeric, institution-controlled scenario through the chain this guide builds: the M02 stop-use path opens it, a work order and repair follow, the responsible party determines whether a retest is required, and a documented release closes it only when the authorized party records that decision. No dates, thresholds or outcomes are invented here — each row names the evidence and the deciding role, and the chain ends at the pending-release boundary until that decision is recorded.
| Event | Evidence collected | Responsible role | Status / next decision |
|---|---|---|---|
| Pre-use trigger: persistent alarm or damaged sash | Observation, photo, work order | User → supervisor/EHS | Stop-use; pending repair decision |
| Repair or component replacement | Work order, parts and change record | Facilities or vendor | Repair closed ≠ retest passed |
| Airflow or control change after repair | Change record and conditions observed | EHS / facilities | Determine whether retest is required |
| Performance retest | Method, readings, units, conditions, result | Qualified tester | Result documented; defect closure confirmed |
| Return-to-service release | Results + conditions + retest date + status identifier | Authorized institution / qualified party | Release recorded; label updated |
Return-to-service release
Return-to-service release needs a complete chain, not a single signature: the test results, their conditions, the defect closure evidence, the retest date, the responsible party, and the institutional status identifier such as a label or register entry. Each node has an owner, and the record connects them so the release can be audited later.
Only the authorized institution or qualified personnel decide release; the user does not self-release a hood after a repair, and a vendor’s word or a quiet alarm does not substitute. Until the responsible party updates the identifier, the safe reading is “pending release”, and the next module gives the exact fields that hold this chain.
By the end of this module you can trace installation, repair or airflow-change events through an auditable retest and release chain, and you can tell which milestone is still missing. The next module gives you the record fields that capture each node’s evidence.
Fume Hood Inspection Record and PDF Field Set
This module turns that chain into a record you can print, copy and reuse. Whether you keep it as a paper form or a fume hood inspection checklist pdf, the field set below is an adaptable template, not a legal or certification form: it holds evidence, but it does not certify a hood or release one. The three groups mirror this guide’s decision path — asset and conditions, observations and corrective action, retest and release.
| Group | Field | What to record |
|---|---|---|
| Asset & conditions | Asset ID | Unique identifier that ties the record to the hood |
| Asset & conditions | Room / location | Building, room and location of the equipment |
| Asset & conditions | Hood type / model / use | Ducted, low-flow, walk-in or ductless; model; intended use |
| Asset & conditions | Date and reason | Check date; pre-use, routine, periodic, post-repair or post-installation |
| Asset & conditions | Inspector role | User, supervisor, EHS, facilities or qualified tester |
| Asset & conditions | Label and policy | Status label date; Do Not Use tag; applicable institutional program |
| Observation / defect / corrective action | Sash, baffle, air foil | Condition and position observations |
| Observation / defect / corrective action | Airflow, indicator, alarm | Indicator state, airflow clues, alarm behavior |
| Observation / defect / corrective action | Cleanliness and utility | Housekeeping state; utility and service condition |
| Observation / defect / corrective action | Severity | Screening, escalate, or stop-use |
| Observation / defect / corrective action | Photo / work order | Evidence reference and work order number |
| Observation / defect / corrective action | Temporary measure | Interim protection or replacement-hood need |
| Observation / defect / corrective action | Owner / escalation | Who owns the fix and who was notified |
| Retest / release | Method, instrument, units | Test method, instrument, reading and units |
| Retest / release | Conditions around the result | Date, sash position, room and exhaust state, configuration |
| Retest / release | Retest date and result | Retest date; result against program acceptance |
| Retest / release | Defect closure evidence | Closed work order or verified correction |
| Retest / release | Label / release authority | Who may update the label; signature or identifier |
| Retest / release | Next-inspection basis | Date or trigger for the next check per program |
Minimum asset and inspection fields
Minimum asset and inspection fields anchor every other line. Record the asset ID, room, hood type, model and intended use; the date and the reason for the check; the inspector’s role; and the label and policy that apply, including any Do Not Use tag and the institutional program behind it. Cornell’s program labels passing and failing units, and Alabama’s plan keeps EHS responsible for test and repair records, so both expect the identity and status fields to be present.
A bare “pass” with no identity, no conditions and no date cannot be tied to a repair, a retest or a later reviewer — it is a checkbox, not a record. Institutions commonly add their own fields to a form, so treat the table above as the adaptable starting set rather than a fixed requirement.
Defect and corrective-action fields
Defect and corrective-action fields turn an observation into a trackable task. Record the sash, baffle, airflow, indicator or alarm, cleanliness and utility observations; the severity of each item as screening, escalate or stop-use; a photo or work order reference; any temporary measure; and the owner and escalation target. Ohio State’s program documents its testing procedure and the records that follow the equipment, which shows why the owner and work-order fields matter in any system.
Write the corrective action as a next step, not a verdict: instead of a bare “failed”, record what must happen, who owns it and the escalation state. Do not invent repair deadlines, costs or performance promises — those belong to the service and testing process, and the record only captures references to it.
Retest and release fields
Retest and release fields close the loop from the previous module. Record the test method, instrument, units and conditions; the retest date and result; the defect closure evidence; the label or release authority; and the basis for the next inspection, whether a program interval or a trigger such as a repair. Alabama’s plan ties re-certification to installations and repairs, and its EHS holds the test and repair records — the closure this group preserves.
Keep three states distinct in the record:
- Record completed — observations and readings are captured; nothing is judged yet.
- Technical result accepted — the qualified result met the program’s acceptance under its conditions.
- Institutional release — the authorized party updated the label or register; only this state allows use after a stop-use or repair event.
Only this third state permits use again, and a form that mixes the three states gets mistaken for a certification document, which this field set is not. When the record shows the hood type, use and project constraints, the laboratory fume hood systems category is the input-led next stop for an equipment assessment. It supplies a starting point only — no quote, certification or test result is promised here.
After this module, you can decide whether a record is merely completed, technically accepted, or institutionally released, and you can produce a reusable, auditable record for any inspection layer. The next module assigns each check and each record field to the role that owns it.
Who Owns Each Check and When to Escalate
This module assigns every check and record field to the role that owns it. The user screens and reports; the supervisor makes sure the response exists; EHS and facilities run the policy, repairs, labels and records; the qualified tester measures and tests; and the project team or a specialist covers commissioning and special-use reviews. None of these roles substitutes for another, and the matrix below is the handoff in one place.
| Role | Action | Evidence or record | Escalate to |
|---|---|---|---|
| Lab user | Pre-use screen; stop-use report; follow operating rules | Pre-use record, photo, alarm state | Supervisor, then EHS or facilities |
| Lab supervisor / PI | Training and resources; act on reports; keep people off known-bad hoods | Training and response records | EHS or facilities |
| EHS / facilities | Policy, test schedule, labels, repairs, records | Program documents, label or register updates | Qualified tester or institution authority |
| Qualified tester | Technical measurement and formal testing per method | Test record with method, units, conditions, result | Reports to EHS/facilities; holds no unilateral release |
| Project team / specialist | Commissioning, turnover, special-use review where needed | Project and review documents | EHS and authorized decision-maker |
User and lab supervisor
The lab user owns the pre-use screen, and the lab supervisor owns the response to it. Users run the daily and pre-use checks from the earlier module, follow institutional operating requirements, and report anything abnormal instead of clearing it. Alabama’s plan, for example, requires lab personnel to report defects and prohibits use of hoods marked dangerous or out of service, which puts the user’s job exactly at the screen-and-report boundary.
Users and supervisors do not substitute for full performance testing or sign certifications, and unresolved issues move to EHS or facilities instead of being closed locally. The supervisor makes sure training, resources and responses exist, so nobody is expected to work in a hood whose status is unknown.
EHS, facilities and qualified tester
EHS, facilities and the qualified tester carry the technical layers. EHS and facilities manage the policy, test schedule, labels, repairs and records; the qualified tester measures face velocity, containment and related items under the program’s method and reports the conditions and results. Washington EH&S and Ohio State both place the functional check and the post-repair retest with this qualified group rather than with the user.
Organization names and authorization chains differ from site to site, so this article defines the handoff, not your office directory. XICHENG does not claim field-testing authority or results for your equipment — the responsible institution and its qualified personnel remain the decision-makers, and product guidance only supports the equipment-direction step at the end of this guide.
Special-purpose or mismatched equipment
Special-purpose or mismatched equipment needs routing before it needs checking. Low-flow, walk-in, ductless, radioisotope and perchloric units, or an unfamiliar model or process, are examples where the checklist must first capture the equipment type, use, material and hazard, then move to specialist or EHS review instead of a standard pass line. UNC’s policy ties verification to its project and institution process, and Cornell’s program defines its own testing scope, so each site decides what the ordinary checklist may cover.
A standard checklist cannot replace a special-use policy, a chemical review or a materials and exhaust design decision. Treat the trigger table below as a routing aid, not a specification: it does not solve compatibility, sizing or design, and no product or certification is implied for any special-purpose case.
| Equipment or situation | First routing question | Who reviews |
|---|---|---|
| Low-flow hood | Does the flow or sash design differ from a standard hood? | EHS and the qualified tester for that program |
| Walk-in hood | Does the space or handling go beyond a standard hood scope? | Facilities / EHS and specialist review |
| Ductless hood | Does the filter and chemistry scope match the intended use? | EHS and specialized review |
| Radioisotope or perchloric work | Does the material or hazard need dedicated design review? | EHS and authorized specialist |
| Unfamiliar model or process | Are equipment type, use, material and hazard recorded? | EHS or specialist before adapting the checklist |
After this module, you can decide which role owns each check and whether specialist routing applies, so special-purpose equipment goes to its own procedure instead of a standard checklist. The next module gathers the decision inputs that turn inspection findings into a better equipment decision.
Next Step: Turn Inspection Findings Into a Better Equipment Decision
This module closes the guide by turning the inspection record into the next decision. The conversation you start with EHS, facilities or a supplier should be about needs, not about a product: persistent alarms, a need to trend readings, a gap in periodic records, or an inability to make a stable local judgment are all inputs for discussing monitoring or measurement options. Equipment evaluation then depends on the hood type, controls, room and project requirements, so the inputs below are what make that discussion specific.
When to review airflow monitoring or sensors
When to review airflow monitoring or sensors follows the evidence, not the marketing. Persistent alarms that a reset did not explain, a real need to trend face-velocity or indicator readings over time, a periodic-record gap that leaves conditions unverifiable, or an inability to make a stable local judgment are all valid reasons to discuss monitoring or measurement with the responsible team — none of them is an automatic recommendation for a specific model.
The right direction depends on the hood type, controls, room and project requirements, which is why the category page is only a starting point. When the conversation moves to equipment, the laboratory fume hood systems category turns those requirements into a shortlist direction without a quote, certification or test promise.
What to send EHS, facilities, or a supplier
What to send EHS, facilities, or a supplier is the record itself, condensed into decision inputs. Include the asset and location, the hood type and use, the chemical-hazard boundary in scope terms only, the sash, airflow and alarm observations, prior reports, work orders and corrective actions, retest and release needs, the project milestone, and the room and exhaust constraints:
- Asset ID and location
- Hood type, model and use
- Process and chemical-hazard boundary (scope only, not a compatibility judgment)
- Sash, airflow and alarm observations
- Prior inspection or test reports
- Work orders and corrective actions
- Retest and release needs
- Project milestone or timeline
- Room and exhaust constraints
A copyable, neutral inquiry keeps the exchange complete:
Please confirm for this hood: the test method and version you would apply, the conditions that govern the result (sash position, room and exhaust state, instrument and units), the record fields you will return, and who holds release responsibility. I am sending this so your process and ours connect; it does not replace my institution’s policy or your authorization.
By the end of this article you can run the four inspection layers, stop and escalate when a trigger appears, preserve the evidence in a traceable record, and hand the right inputs to the right owner for a retest, a monitoring discussion or an equipment evaluation. The checklist is the tool; the decision about safety, testing and release stays with your institution and its qualified people.
Leave a Reply